How to manage & customize image, gallery on your Shopify store
.jpg)
To manage image, gallery Shopify stores, a merchant can use many things: from the company logo, product lookbook, slideshows, banners, to blog posts images for SEO. Therefore, it is of great importance that merchants know how and where to use, customize and manage images to customize their store.
Let’s discover how you can do that without touching any codes in this article!
Manage & customize images
Upload images
There are two different places for shop owners to upload images to enrich their gallery Shopify online store:
- Upload images on the Files page: You can upload images on the Files page from Shopify admin. This is useful because you can access these images while editing any of the themes of your store.
- Upload images in the theme editor: You can add images to your theme in the theme editor.
Open the image editor
To edit product images, online sellers need to know how to use the image editor.
From your Shopify admin, go to Products > All products.
- Click the name of the product that has the image that you want to edit.
- Hover over the image you want to edit, then click Edit
Crop an image
Another way to manage image is to crop an image to remove part of the image. This tutorial will come in handy when merchants want to display only a part of the image, or when you need to change the image's aspect ratio.
- Click crop
- Frame the area of the image that you want to keep:
If you want to crop the image into a custom size, then click Freeform. You can click and drag the corners of the highlighted area or click inside the highlighted area and drag it to a different position.
If you want to crop the image using the same aspect ratio as the image, then click Original. You can click and drag the corners of the highlighted area to resize it, or click inside the highlighted area and drag it to a different position. The aspect ratio stays the same as the original image when you resize it.
If you want to crop the image into a square, then click Square. You can click and drag the corners of the square to resize it, or click inside the square and drag it to a different position. The aspect ratio of the square stays the same when you resize it.
- Click Apply to crop the image.
- When you're done making edits in the image editor, click Save.
Draw on an image
You might want to draw on an image to add a line, highlight part of the image, or add a design.
- Click Draw.
- Select a color and a brush size.
- Click and drag on the image to draw.
- Click Apply to add the drawing.
- When you're done making edits in the image editor, click Save.
You can use the eraser to remove all or part of a drawing. The eraser doesn't remove anything from the original image.
Resize an image
You can resize an image to change its actual size.
- Click Resize.
- Enter the new width for the image.
The height is automatically updated to keep the same aspect ratio.
If you want to resize the image without keeping the same aspect ratio, then click Lock aspect ratio.
Resizing your image without Lock aspect ratio disabled can distort your image.
- Click Apply to resize the image.
- When you're done making edits in the image editor, click Save.
Change an image's orientation
You can flip or rotate an image to change its display orientation. You can also tilt the image within its frame.
- Click Rotate.
- To change the image's orientation:
Click Rotate clockwise to turn the image..
Click the Flip vertically or Flip horizontally buttons to flip the image.
- Click Apply to change the image's orientation.
- When you're done making edits in the image editor, click Save.
Manage & customize galleries
You have a couple of options when it comes to creating a gallery page. One method would be to insert your images into a table using the rich text editor, the other is using gallery Shopify apps.
1. Creating a gallery page by using a table
You can insert tables in your blog posts, pages, product descriptions, and collection descriptions with the rich text editor. You can place text, images, or even videos into a table after you create it.
Step 1: In the rich text editor, click the Insert table button
Step 2: Click Insert table to insert a table. This creates a table with one row and one column.
When you have created a table, click the Insert table button again to modify the table's rows and columns:
- Insert row above: Place your cursor in a row and click this button to insert a new row above.
- Insert row below: Place your cursor in a row and click this button to insert a new row below.
- Insert column before: Place your cursor in a column and click this button to insert a new column before that column.
- Insert column after: Place your cursor in a column and click this button to insert a new column after that column.
- Delete row: Place your cursor in a row that you want to delete and then click this button.
- Delete column: Place your cursor in a column that you want to delete and then click this button.
- Delete table: Place your cursor anywhere in the table and then click this button to delete the entire table.
This can only help you create an image gallery, not managing or customizing it. If you want to manage image and gallery on Shopify, another option would be to use a gallery app.
2. Using Shopify gallery app
We'd recommend checking out XO Gallery, POWr's photo gallery app or Gallery By EA ‑ Image + Video if you need fancier and easier effects to apply onto your store.
XO Gallery
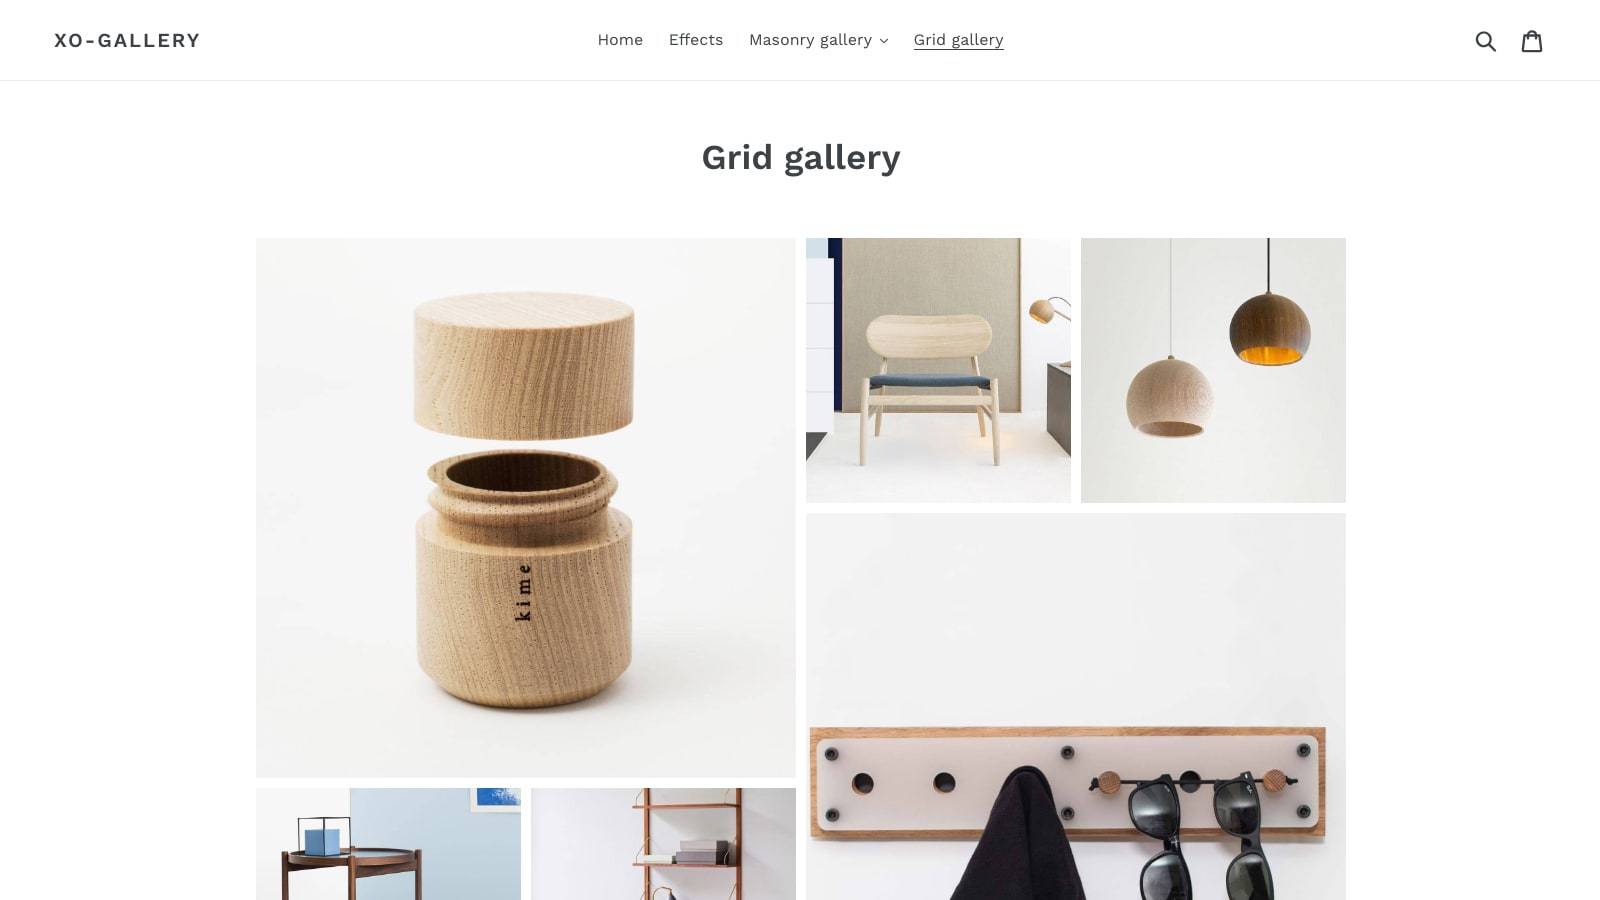
XO Gallery is the solution many entrepreneurs turn to when they want to make their e-stores stand out with image and gallery displaying. Since this app allows users to express their aesthetic when editing a collection, it is already making a difference for all kinds of sites, from business oriented to hobby and entertainment blogs.
Key features
- User-centered
- No limits of galleries on a single page
- Smooth function even with a huge amount of videos and images
- Varied in visual build tools with smooth transition options can be added upon preference.
- Free setup support
Price
XO Gallery allows a 7-day free trial and a free version with 12 images upload maximum. You can experience its great gallery features with the Basic and Pro version, at $5.95/month and $14.95/month respectively.
Photo Gallery
Developed by POWr.io, Photo Gallery is a useful and popular app to improve your online store on Shopify.
Key features
- Multiple functions
- Highly customized
- Highly supportive
For now, users can only create and customize galleries using videos from Youtube or Vimeo, so it can be quite time-consuming if you have a huge number of product videos.
Price
With a free version, you can only upload 5 photos maximum. Users can enjoy many of its fantastic features with 3 paid versions, starting at $4.49/month or $53.89/year.
Gallery By EA ‑ Image + Video
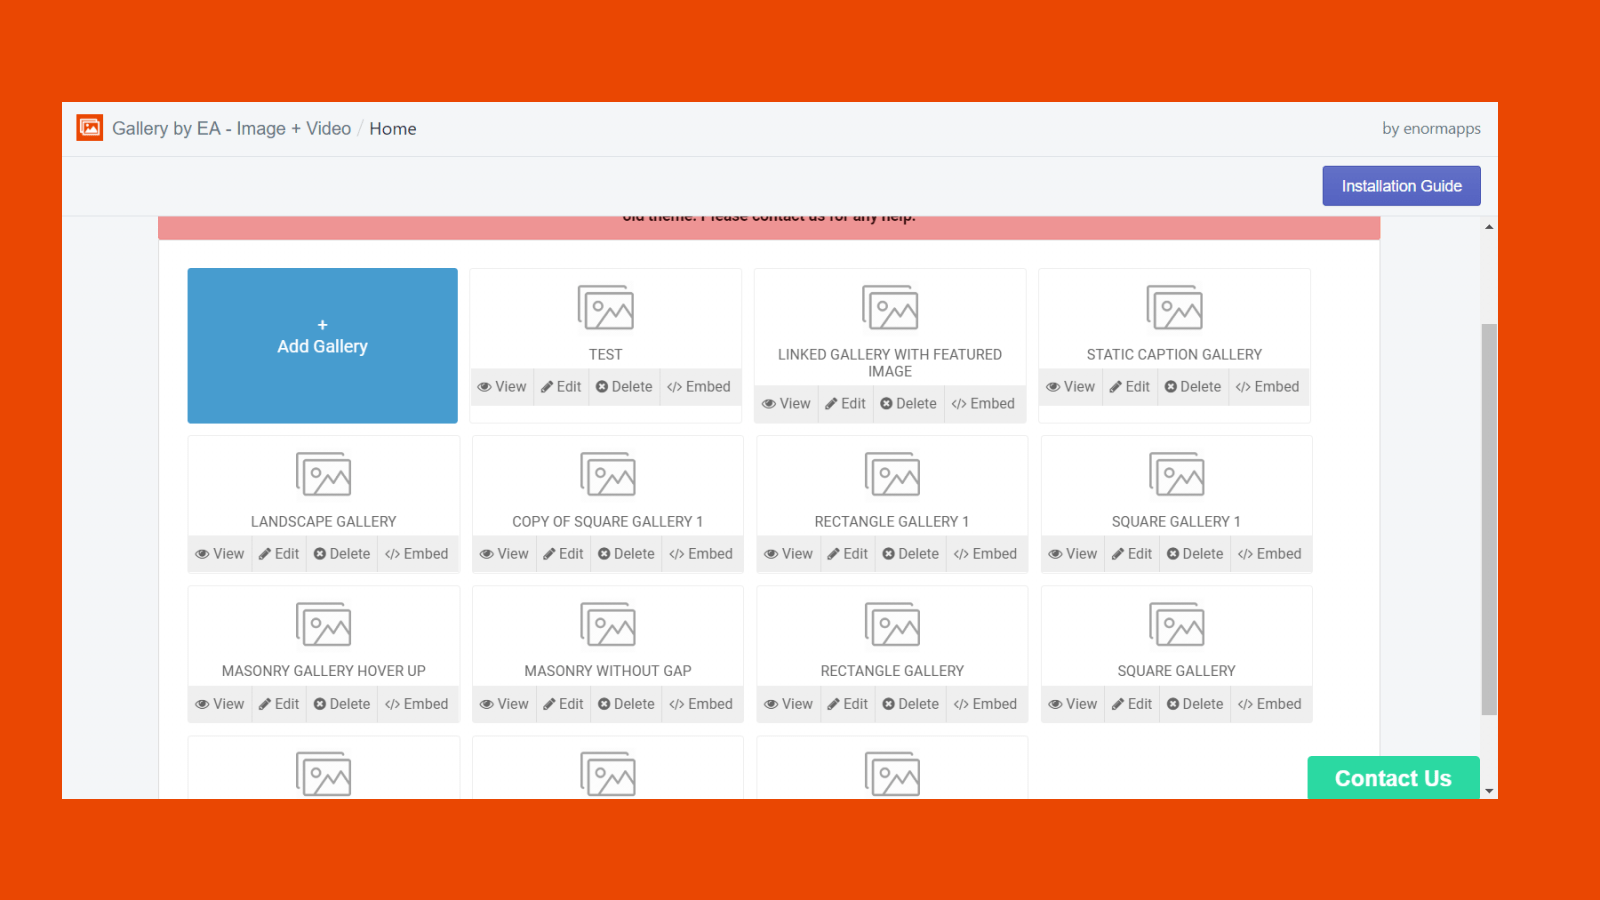
This app provides a fantastic opportunity to build a whole Shopify gallery of videos and pictures of your products in such an organized way that can grab the attention of visitors immediately if made right.
Key features
- Easy to use
- Better customer experience
- SEO plus, but for images only
Price
This app has a free plan available with restricted features. You can buy the basic, premium, or advanced plan to enjoy the best of it with the cost starting from $1.99/month to $9.99/month.
More insights